In this guide, I will walk you through a few different ways you can access UCI’s OpenLab, which is essentially the campus’s “remote computer lab.”
The included YouTube video above walks you through the Prerequisites, as well as the SSH method to connect to OpenLab. In this post, I’ve also included a more user-friendly method to connect to OpenLab which will especially be relevant for my ICS 33 students. All the terminal commands and tools discussed in the video are also included in this post for convenience.
So, without further ado, lets jump into the tutorial!
Prerequisites
ICS Login
The very first thing you need to do is to make sure that you actually have an ICS login. This is actually distinct from your @UCI.edu login.
If your major falls under the Bren School of Information and Computer Sciences, then you already have an account (and it should be the same as your UCInetid). If that’s you, then skip to the next section.
If you’re not sure if you already have one or not, just type in your student ID in the form.
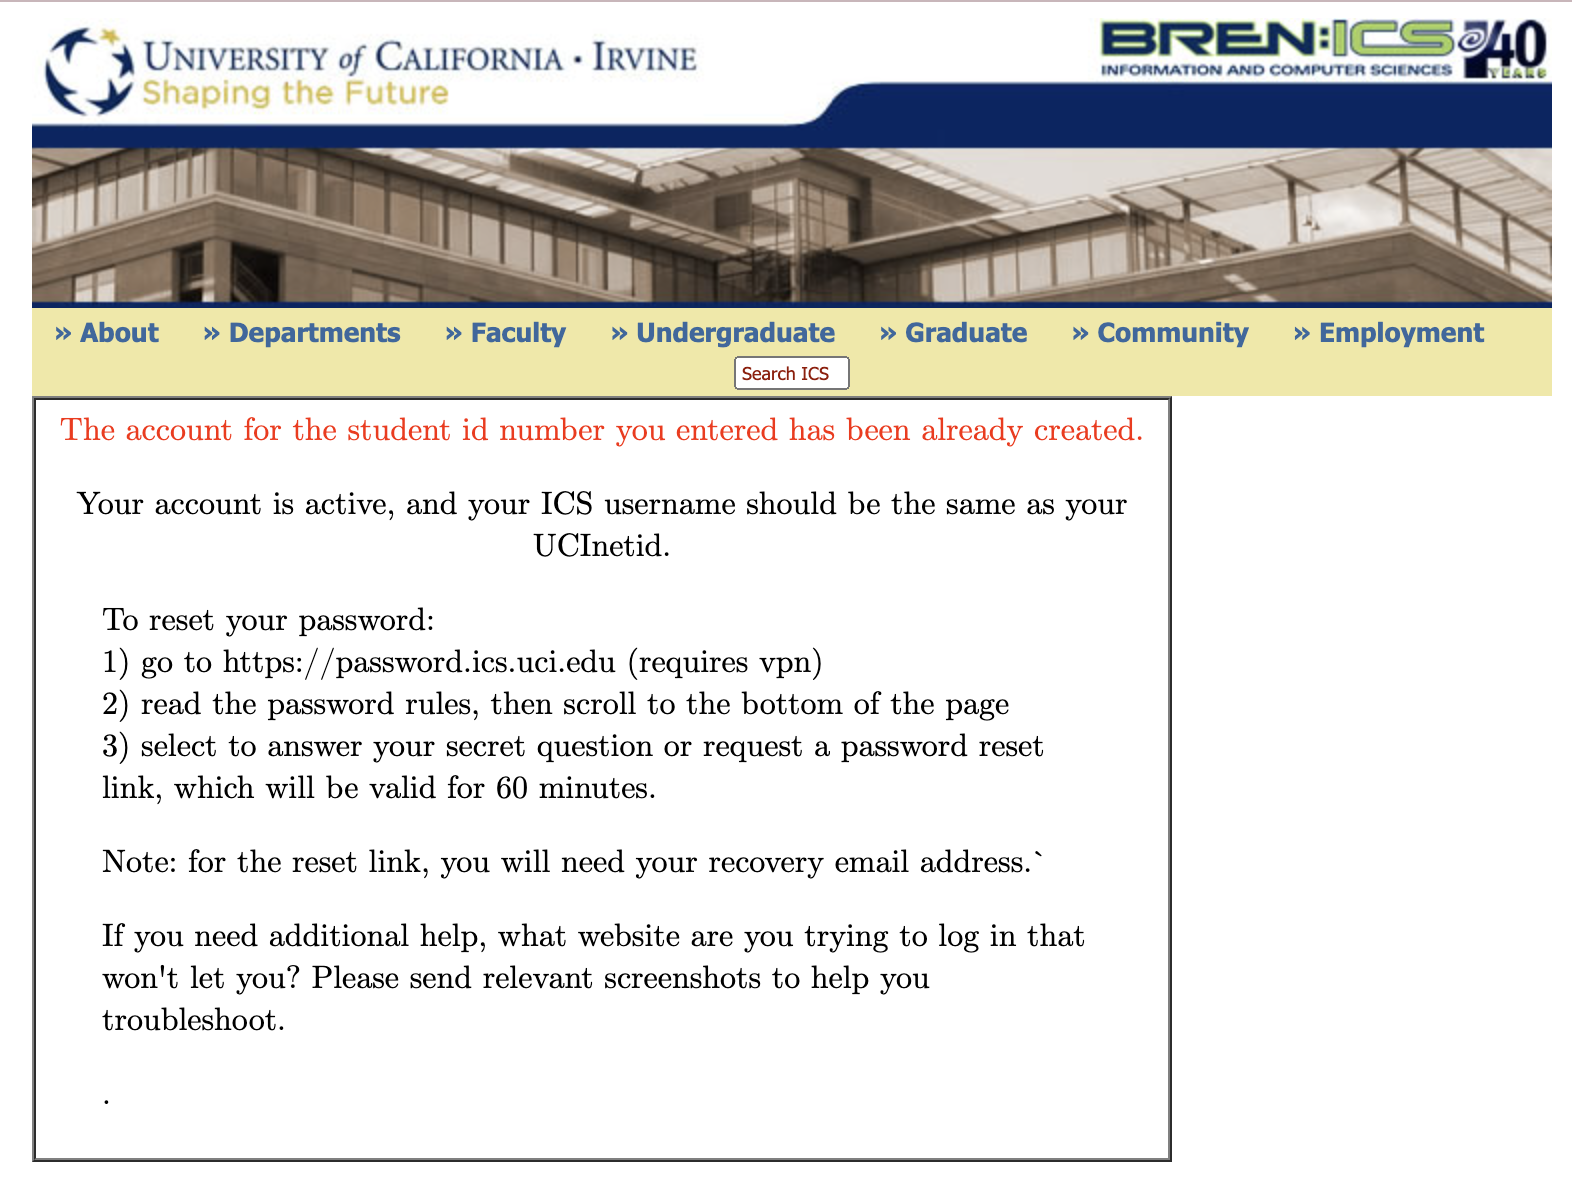
If you don’t have one yet, then fill out the prompts on the form. According to this page, your account should be made within 2 hours, and should be the same name as your regular UCInetid.
Required Tools
VPN
Next, you’re going to need a way to access the VPN. It allows you to connect to the UCI network when you’re not on campus. This in and of itself is not enough to get on OpenLab, but its a prerequisite step (we’ll talk about how to do this below).
To get on the VPN, you need to download some software. There’s some really good UCI-made articles on this step, so I won’t re-write this all out.
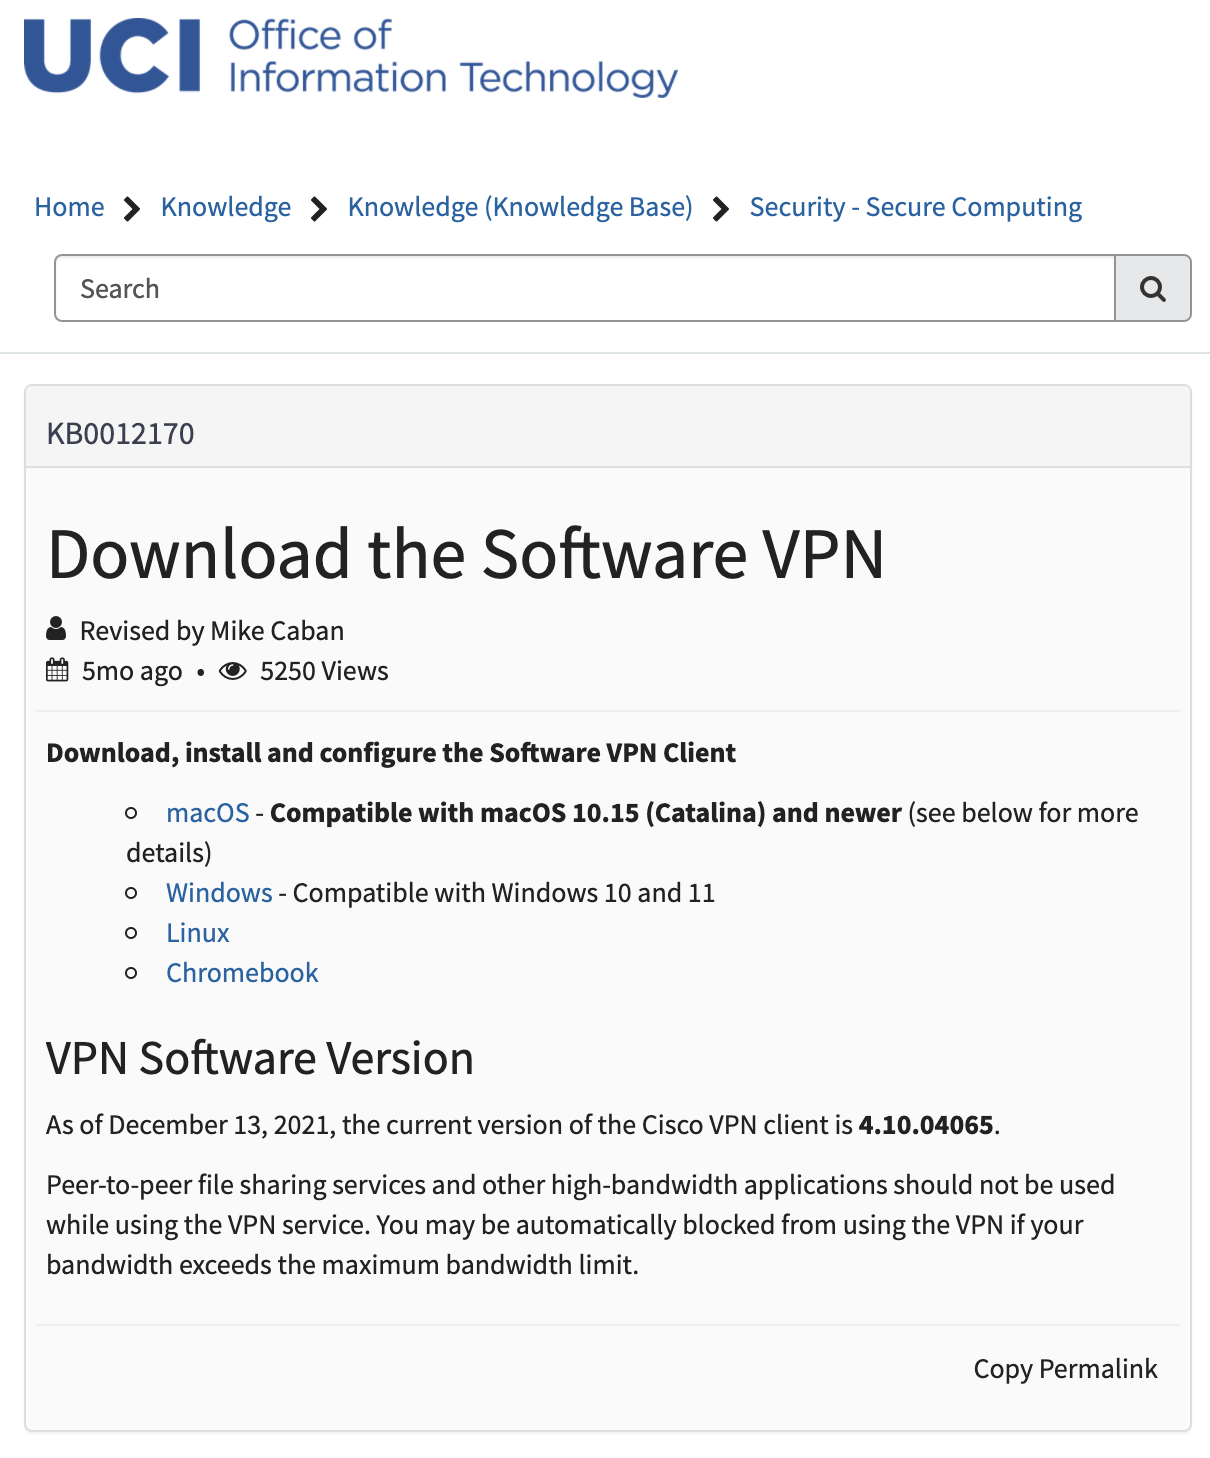
After following these steps, you should have the Cisco AnyConnect VPN client (or equivalent, if it recommended a different one for your OS) downloaded to your machine.
Terminal
Finally, you will likely want to have a terminal. If you’re just doing Jupyter Notebooks, its not 100% needed, but you will likely need the terminal to transfer files remotely. Plus, its a good tool to familiarize yourself with for your Computer Science education, anyways, and you will almost definitely be using it in your courses.
If you’re using a Mac, you can use the built-in Terminal application (Linux will also have a built-in one you can use). I personally use iTerm2 and I really love it because of the extra functionality such as split-panes and additional appearance customizations.
I haven’t been regularly using a Windows-based machine in a few years, but I enjoyed using the beta of Windows Terminal, which looks like now there is a full version available for everyone. I liked using this much better than PuTTY and Windows Git Bash. When in doubt, you can always ask your instructor what they’d recommend.
OpenLab Tutorial (Two Different Ways)
Now that the prerequisites are out of the way, lets jump into the actual tutorial! Below, I have provided two different methods of accessing OpenLab, depending on what your needs are. The first way gives you a full GUI and remote desktop experience. The second way I’d recommend for more advanced users or students in upper-division classes, which accesses OpenLab through the terminal using SSH. This is personally what I use, because its a bit snappier, but newer students will likely prefer the first method because its more user-friendly.
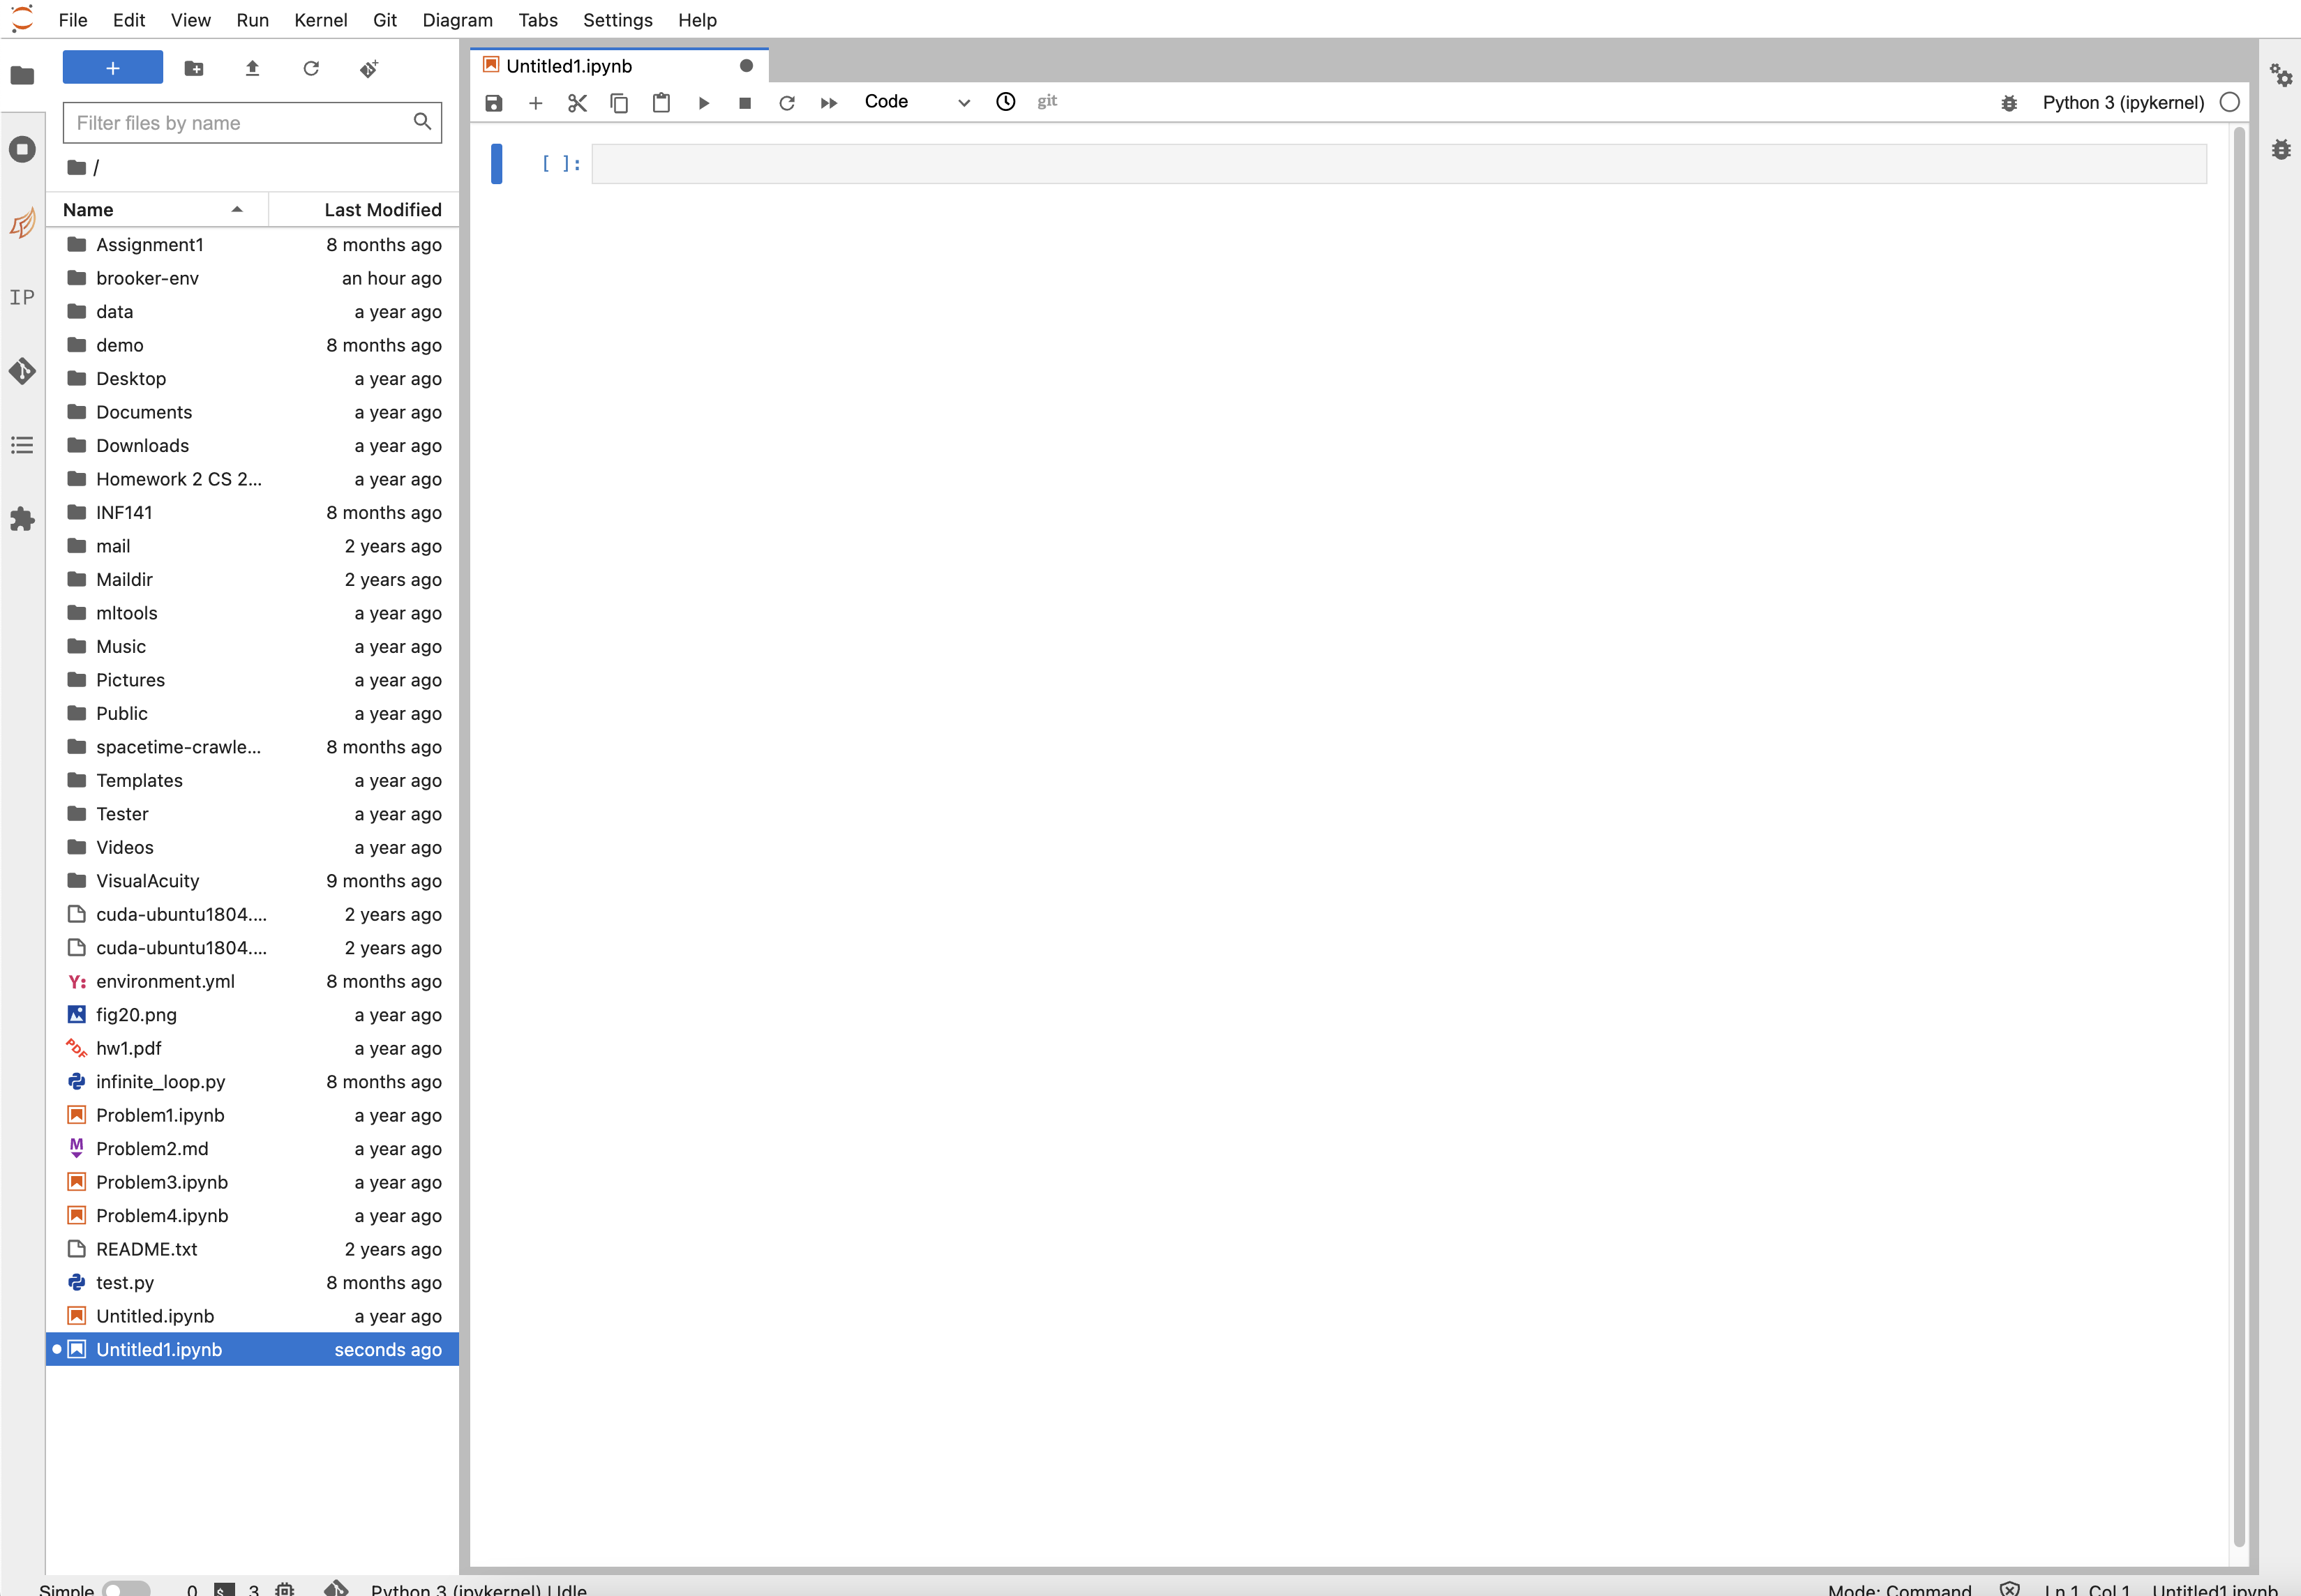
Access a Fully Remote Desktop via JupyterHub
This part of the tutorial will cover how to access UCI’s JupyterHub. This is the way I’d recommend for my ICS 33 students, or others in lower-divison courses.
Steps
- Open Cisco AnyConnect and connect to the VPN (documented in this guide, or watch the first part of my video).
- Go to the browser, and type in https://hub.ics.uci.edu/
And you’re in!
From there, you can simply navigate over to Jupyter Notebooks to start working on your programming assignment.
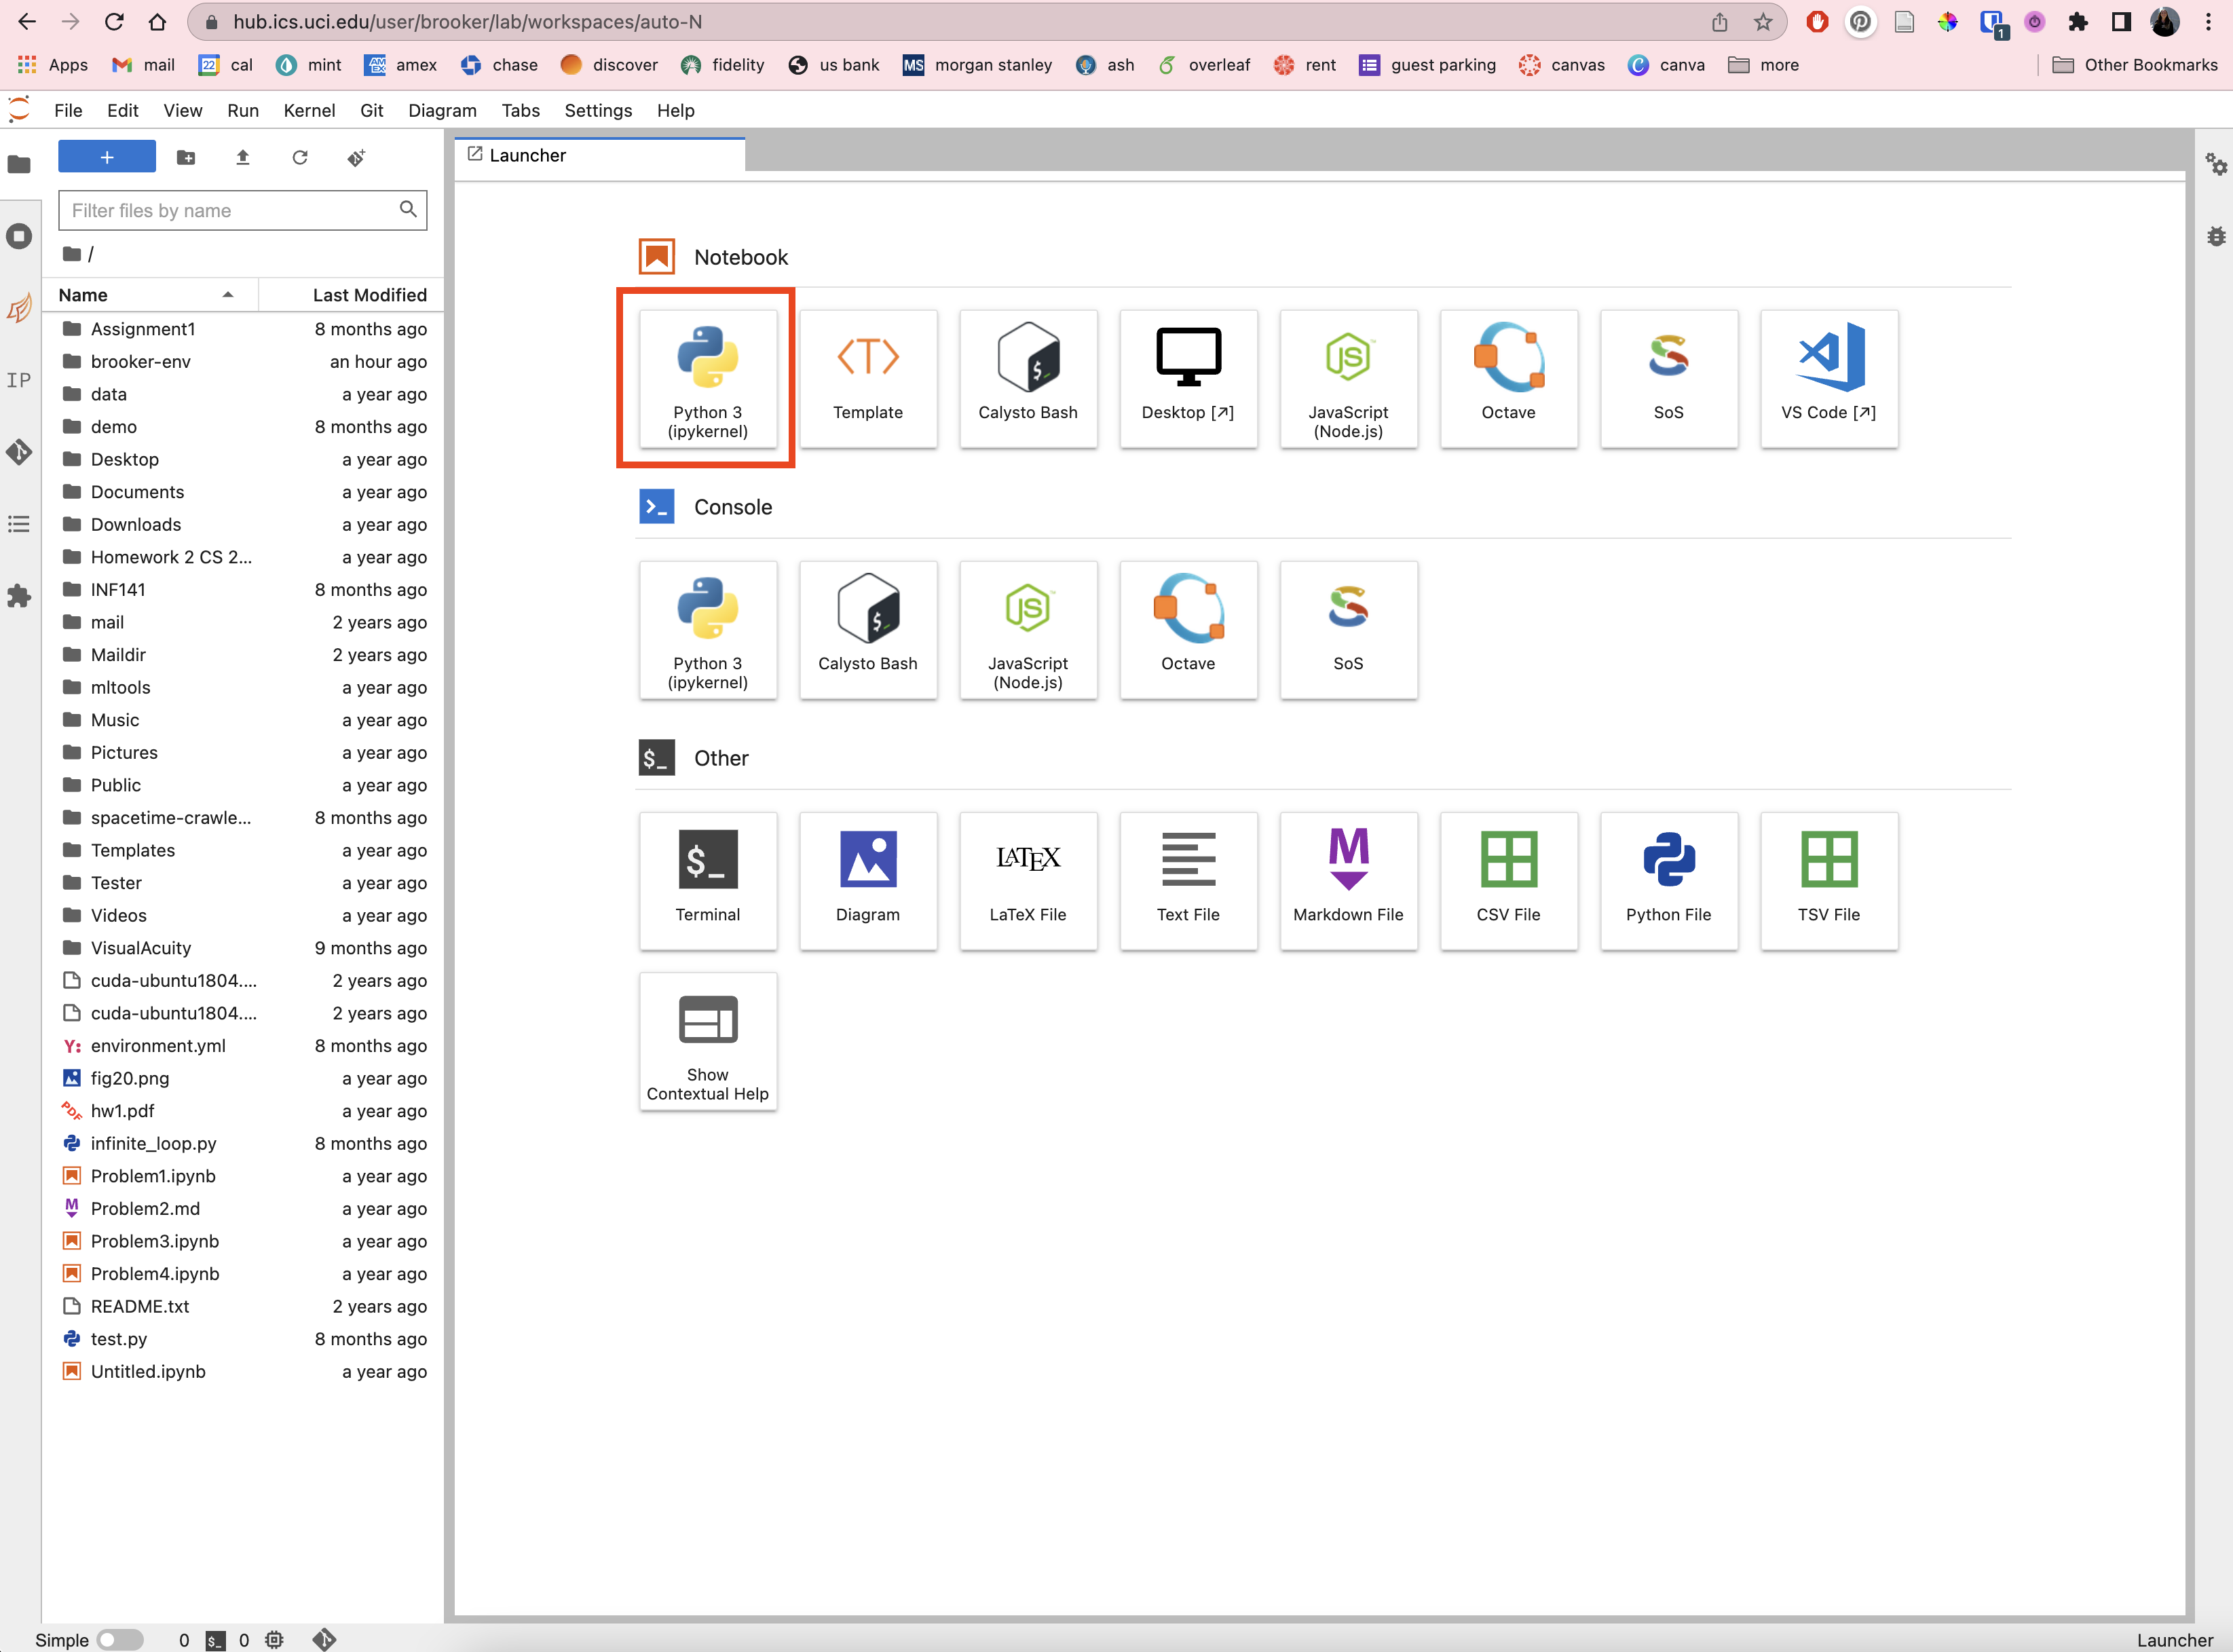
Or, you can even use the full desktop by clicking on the “Desktop” icon. This could be useful if you also want to interact with the Terminal or need to go to the browser to download your assignments from Canvas.
This article has some additional resources and how-to’s for more in-depth usage if something you need is not covered here.
Although using the JupyterHub is probably a bit less snappy than it would be in the physical ICS labs, it is really user-friendly especially for newer students who are still getting used to programming, so it’s a fair trade for all the functionality you get.
Access OpenLab via SSH
For students in upper-division classes, or those conducting research in a lab on campus, connecting to OpenLab through the Terminal is preferred. Its much quicker, and by learning a few simple remote file copy commands, you can really save yourself a lot of time.
For this method, I made a YouTube video that explains all these same steps, so if you’d prefer you can watch that. I just outlined the same steps below for convenience and for copy-pasting the commands easily.
Steps
- Open Cisco AnyConnect and connect to the VPN (documented in this guide, or watch video above for example).
- Note: If you want to circumvent this step in the future, see this guide on how to add an SSH Key to OpenLab. However, if you’re trying to do this for on-campus research, this won’t work because you’ll still need to connect to the VPN (I tried 😭).
- Go to the terminal, and type in
ssh UCInetid@openlab.ics.uci.edu(replaceUCInetidwith your ID.)- Note: if you need to connect to a specific server, for instance,
circinus-37, then usessh UCInetid@circinus-37.ics.uci.edu
- Note: if you need to connect to a specific server, for instance,
- Type in your ICS password (might not necessarily be the same as your UCInetid password).
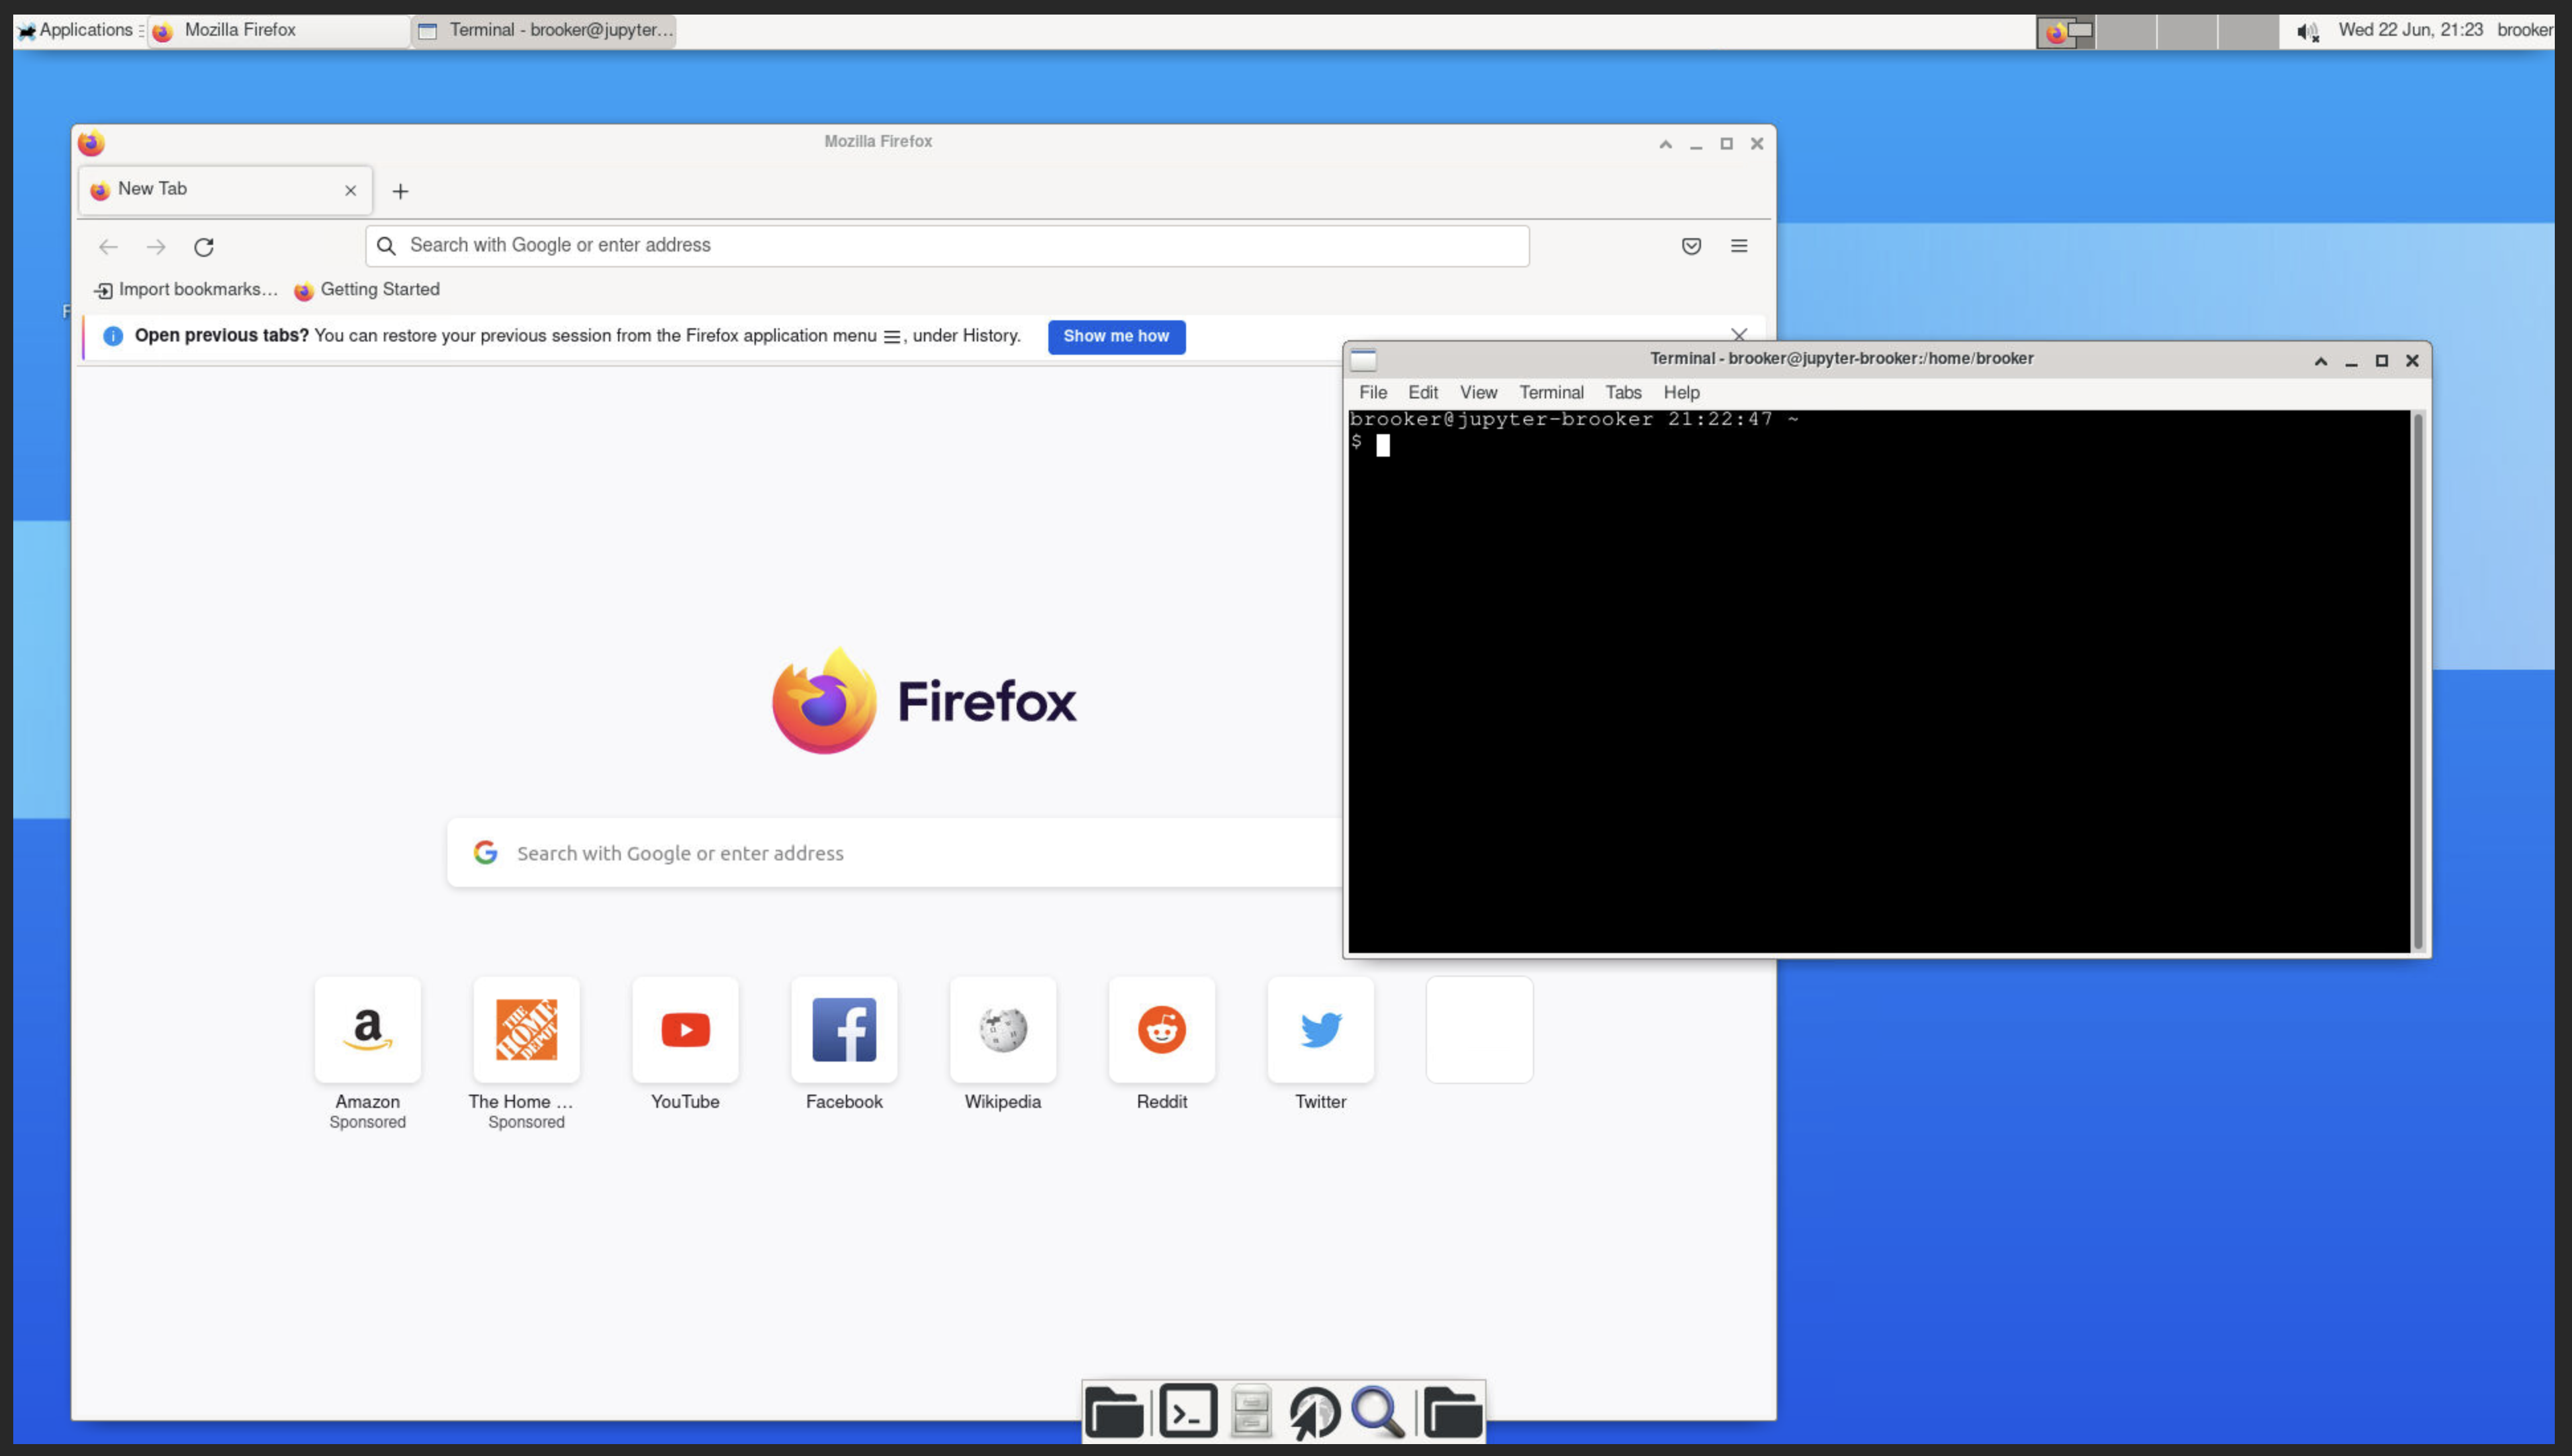
- If you see a terminal window that looks like mine below, you successfully got in!
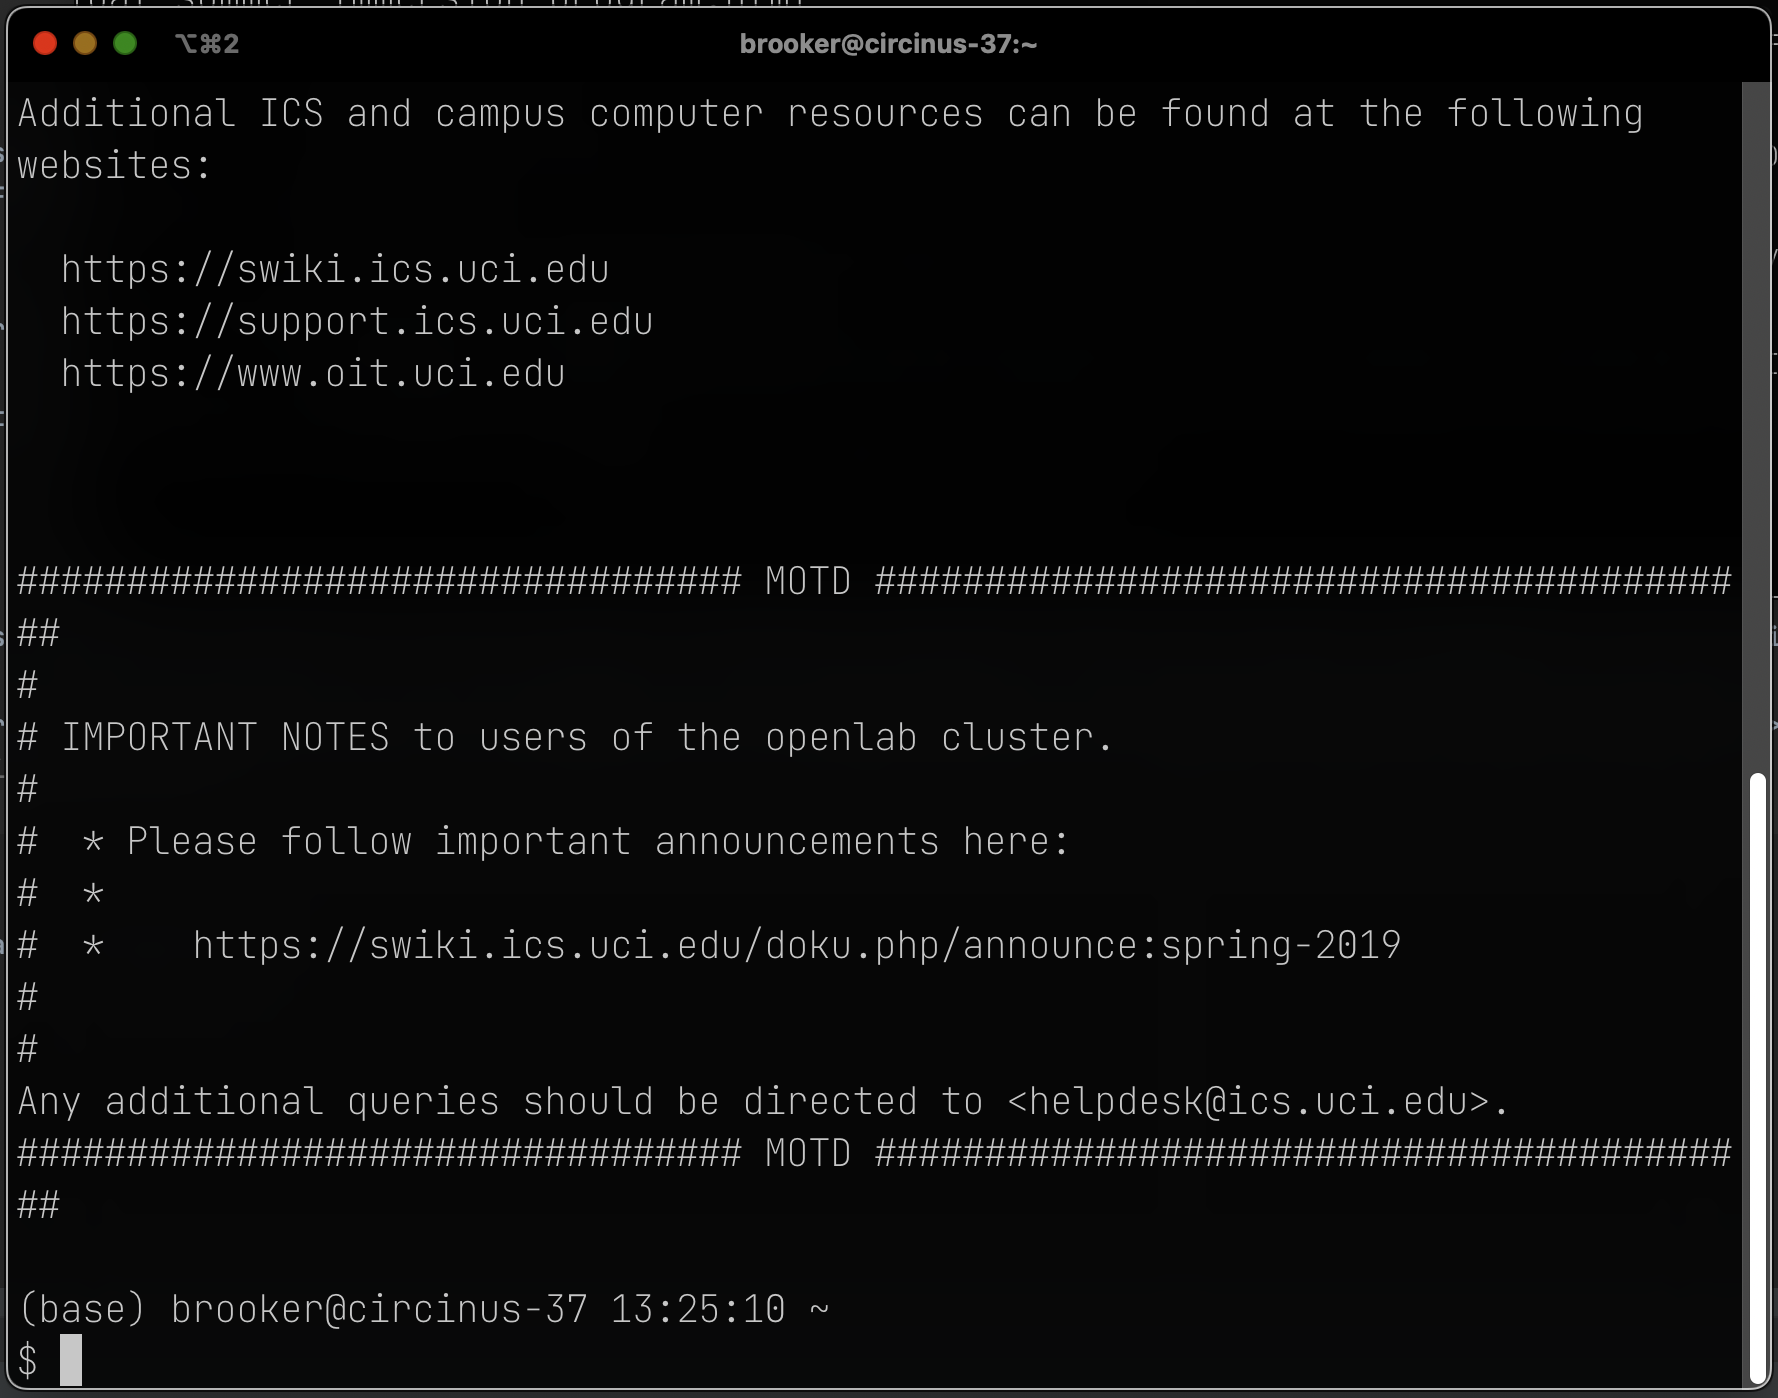
@circinus-37 seen in mine will vary based on which specific server you got connected to.Remotely transfer files
Now that you’re connected, you might want to remotely transfer files to and from your local machine to OpenLab. I give the full demo in the video so if you’d like to see that in-action check that out. Below are the commands:
- Copy single file from local to remote (run in your local terminal):
scp myfile.txt UCINetID@openlab.ics.uci.edu:/remote/folder/
- Copy single file from remote to local (run in your local terminal):
scp UCINetID@openlab.ics.uci.edu:/remote/folder/remote.txt local.txt
- Copy multiple files from local to remote.
scp myfile1.txt myfile2.txt UCINetID@openlab.ics.uci.edu:/remote/folder/
- Copy all files from local to remote using scp.
scp * UCINetID@openlab.ics.uci.edu:/remote/folder/
- Copy all files and folders recursively from local to remote.
scp -r * UCINetID@openlab.ics.uci.edu:/remote/folder/
For more information, search “scp command (linux)” on Google.
Conclusion
A Case for the Physical Computer Labs
Despite the length and depth of this tutorial, OpenLab is no replacement for going to the physical computer labs. Yes, I know, it’s smelly, it’s a long walk, it’s dark. The keyboard is sticky for god knows what reason.
But, for all the flaws of the labs, it’s also where a lot of learning takes place. For one, its usually where office hours or tutoring hours take place. I know for me, I would not have passed Basic Data Structures without the patient assistance of the tutors in the labs. In your earlier classes, you really need to make an effort (as hard as it is) to get up and go to the labs so you can get that precious help. As you get more experienced in your upper-division courses, you can gradually wean yourself off the labs and work more frequently from the comfort of your home (and you’ll have really earned it!)
So, hopefully this tutorial will help you with connecting to OpenLab for times that you’ve got the sniffles or want to work on your assignment outside of lab hours, but still plan on draggin’ your butt over to the labs for most of the quarter!
Please let me know if this tutorial helped, or if there is any additional content you’d like to see covered next time! 👋
Originally posted on BrookeKRyan.com.